
 Photo from Unsplash
Originally Posted On: https://draftbeerdispense.com/wall-mounted-beer-tap-how-to-install-and-put-together/
Have you ever wanted to install a wall-mounted beer tap in your home, or on an old refrigerator? Have you thought about having draught beer on tap? Well, I am going to show you have to do that.
I am going to talk about some beer equipment you will need, tools that we will use, and steps we can walk through together. At the end of this post, you will have your very own beer tap wall.
Beer Equipment Needed For Wall Mounted Beer TapThe equipment needed will be similar for what you would need for a kegerator. Except we will be using a wall-mounted beer tap instead of a beer tower. Now you will have to decide how many taps you’ll want on this beer tap wall I’m going to go with 3 in our example. You can have one or more. You can look around here for some wall mounted beer towers.
Wall Mount Beer Tap For Front of Cooler
You will also need some sort of beer cooler or old refrigerator to house your beer kegs in. I would assume most people might have a refrigerator you could use for this.
Stainless Steel Beer Faucets
You will need a beer faucet to dispense beer out of. There are plenty of styles out there like the flow control faucet, or regular beer faucet. Remember that it needs to be stainless and not chrome plated. I have a blog where I talk about my recommended beer taps here.
For a simple Direct-Draw System I like using the Perlick Flow Control Faucets because I can add restriction if needed to pour the perfect pint. Word of caution if you are going to be pouring unfiltered beers. Use regular stainless steel faucets like the one pictured above to the left. Unfiltered beers will gum up flow control faucets and they won’t be able to pour without taking the faucet apart and cleaning it.
Stainless Steel Beer Shank
Stainless Steel Beer Shank for Beer Cooler
1/4″ SS Tail Piece
Beer Hex Nut
Beer Washer
You will need Stainless Steel Beer Shanks that you faucets screw into to. Depending on the cooler or refrigerator you are using. I’d recommend a 6 1/8” Beer Shank that has 1/4” bore inside. Now this size would be used in a commercial setting because cooler walls are about 4″ in thickness. For a private residence maybe a 3 or 4″ shank will do.
Now the shank will come like the picture on the left. With the panel nut attached on the back end. However, you will also need to get a 1/4″ SS tail piece, Beer Hex Nut, and Beer Washer for each shank so we can attach our beer product line correctly.
After the panel is securing the shank to the cooler wall. Take the tailpiece and insert into the hex nut. Place the beer washer inside the hexnut on top of the tail piece and screw onto the back end of the beer shank.
Vinyl BeerlineBeerline comes in different I.D’s but you are going to want the 3/16” I.D and you will want 4’. Every foot contains 3 lbs of restriction and at 12 lbs this will keep our kegged beer in equilibrium. You can use larger I.D’s like ⅜ “ however you will need to use a bunch of beerline, or you will need to add extra restriction. We can by pass that step by adding 4’ of 3/16 restriction and this will set you up nicely.
Beer AirlineI recommend using red beer airline for this set up as well. It’s 5/16 I.D. and you will need about 4’ as well. You can also use braided air line if you like. Just remember the hose fitting is 5/16 you will be attaching it to on the beer coupler.
Beer Coupler D-Sanke
Stainless Steel D-Sanke Coupler
You will need a beer coupler for each brand of beer you are pouring. I recommend all stainless beer couplers. And one in mind I recommend is from Micro Matic and costs around 40 dollars. However, it’s a quality coupler that will last you a long time.
If you would like some more information on beer couplers read this.
Now, you will also need a beer nut, beer washer and hose fitting for your beer coupler. They don’t come with the product side attached. With the 3/16” I.D beerline I’d recommended a 3/16 stainless beer hose fitting.
Otikers or Hose ClampsI recommend using Otiker clamps for my beer line and air line attachments. They just hold the hose more securely in my opinion. If these aren’t an option hoseclamps will also work. You can pick up hoseclamps at your local hardware store or Home Depot.
Primary C02 RegulatorIf you have a bunch of other taps on your wall-mounted beer tap. A primary regulator should be fine for a few taps in your system. We want to match our applied pressure to our restriction value. So we can set our pressure to 12 psi and see how our system pours. We may need to make some small adjustments, but we should be pretty close. Also, assuming our cooler temperature is 38 degrees Fahrenheit.
Tools Needed
- ⅞” HoleSaw
- Drill
- 5/16 Hex Head Bit
- Stainless Steel Self Tap Screws 5/16 Hex Head
- Crescent wrench
- Otiker Pliers or Flat Head Screw Driver
- Beer Wrench or Spanner Wrench
Beer Wrench or Spanner Wrench
Hole Saw 7/8″ with 1/4″ Pilot
Crescent Wrench
Steps To Install Wall Mounted Beer TapFirst, you are going to want to place your wall mount on your beer cooler wall or refrigerator. Then find the center on your refrigerator, and on your wall mount. After you find where your center mark is trace the holes with a sharpie or pencil.
If there are many holes to trace. I’d recommend mounting the wall mount tower to the wall with stainless steel hex head self-tapping screws. Size 5/16 Hex Head. Drill out the corners of the wall mount tower and then drill a hole on your center line at the top. You can then use the self-tapping screws to mount the wall mount tower.
After that take your ⅞” hole saw and drill. Place the pilot bit on the center and drill away. Use the wall mount as a guide and make sure you are drilling perfectly straight through the cooler or refrigerator.
Following that, clean out the holes and insert the beer shanks into the holes. Take the panel nut and tighten it down so that the shank is in place, holding up the wall mount tower and ready for the beer faucet. You are now ready to do the back end attachments with the hose, clamps and coupler.
Back End AttachmentsNow our shank is on the wall or refrigerator. What we want to do is set up the back end with our beer line, airline, and coupler so we can pour beer.
First, take that 4’ piece of 3/16 I.D beer line and slide it onto the tailpiece of the beer shank. Then we want to use a hose clamp or otiker clamp size 13.3 to clamp the hose and shank together.
Next, we will connect the beer line to the top of the beer coupler. Remember this is where we add the extra beer nut, beer washer, and 3/16 SS tailpiece. Put the beer nut and tailpiece together, add the beer washer and screw them on top of the coupler. I like to use a crescent wrench to tighten these down.
1/4″ SS Tail Piece
Beer Hex Nut
Beer Washer
After that, attach the beer line to the top of the coupler the same way it was done to the back of the shank.
If you want an easy way to get your beer nuts, gaskets, tailpieces and worm clamps (instead of using oetiker clamps ). Click on the picture above. For 1 line you will need all 4 parts. So if you are setting up a 3 brand wall mount you will need 3 of the above.
Attaching Airline to The Beer CouplerWe are going to attach our airline the same way we did our beer line above. The only difference is that the attachment comes from our Primary C02 Regulator and then attaches to the front of our keg coupler.
Take the Red-air line about 4’ and slide onto the hosefitting of the primary regulator. Use either a hoseclamp to make the attachment or a 16.2 Otiker Clamp with Otiker pliers. Next, attach the line to the front of the beer coupler in the same method.
When this is all done, Everything should be attached on the back end of the shank.
Attach Beer FaucetOn the front side of the shank you’ll want to attach the stainless steel faucet. You will also need a spanner wrench or beer wrench for this. Attach the faucet to the coupling nut. You’ll want to spin the coupling nut counter-clockwise to tighten. When it is hand tight use the spanner wrench to tighten ½-¾ turn.
Beer Wrench or Spanner Wrench
If you have a specific beer tap handle you can add this on top of your beer faucet, or use a standard black handle for a couple bucks.
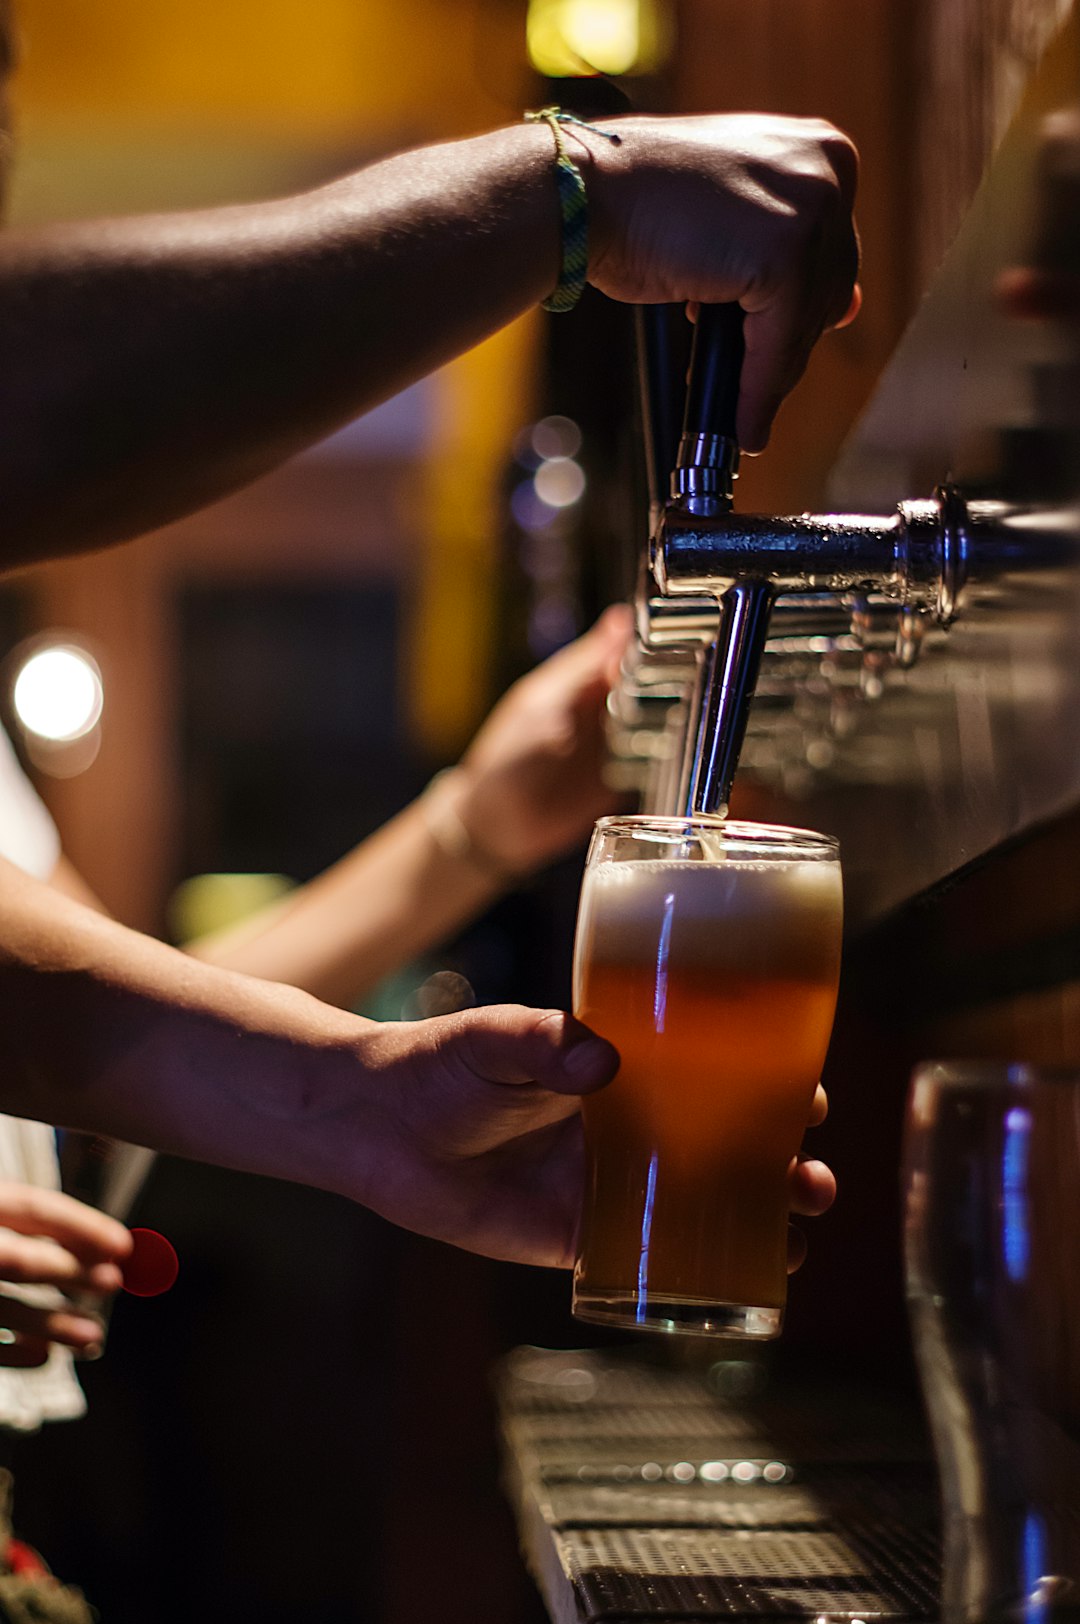
Dispense from Beer Tap WallThis is the best part of the whole process dispensing beer. First, let’s make sure our temperature of cooler or refrigerator is set at 38 degrees. Adjust the regulator to 12 psi on the gauge. Turn on the gas and engage your beer coupler. It’s nice to bleed out the oxygen in the beer line. Once this is done make sure your beer faucet is completely shut. Tap your beer with your keg coupler and get ready to pour draft beer.
If you’ve done all the above and find that the beer is foamy at first thats ok. Sometimes it takes a little while to get the keg of beer on temp if it’s been sitting outside the cooler for a bit. The beer line may also be a bit warm. Let things sit for awhile and try again later.
If the beer is racing out of the beer faucet you can dial the pressure down a little to 10 psi to see if that helps. However, 12 psi should be about where you need to be if you have used the material above, and followed my instruction. It should be about right.
Lastly, enjoy dispensing beer from your beer tap wall.
Cheers!
